How To: Topiary Centerpiece
Welcome back to the May Arts blog! Today’s tutorial is a centerpiece you can customize for just about any occasion with the awesome variety of ribbons May Arts offers. I’ve made this one for Valentine’s Day by adding the little hearts but if I remove them, I can easily use this for a baby shower, a birthday party or a bridal shower.
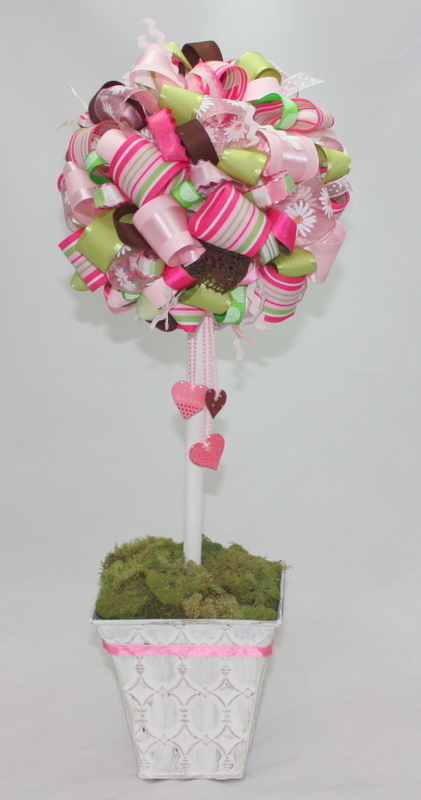
Once your supplies are gathered, you can finish this project in under an hour. Gotta love that!
Let’s gather our supplies and get started.
Supply List:
- Assortment of *May Arts ribbon in various widths cut to 5” lengths (another great scrap project!)
- 1 dowel – ½” x 12”
- 6” Styrofoam ball
- Metal container (mine is 5.5” tall by 5” across the top)
- Floral foam
- Floral Moss
- Pearl head floral pins
- Hot glue and glue gun
- White Acrylic paint/paint brush
- Making Memories acrylic hearts (optional)
Step 1
Cut May Arts ribbon to 5” lengths, set aside. (the overall quantity will vary depending on ribbons used)
Step 2
Paint dowel with acrylic paint. I also chose to paint my pot after I chose my ribbons to soften the overall look of my project.
Step 3
Step 4
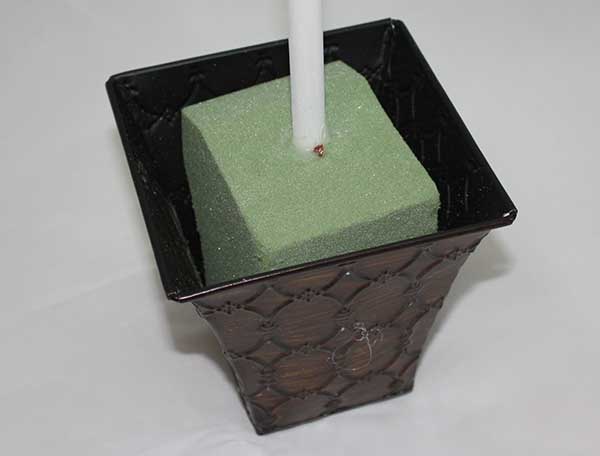
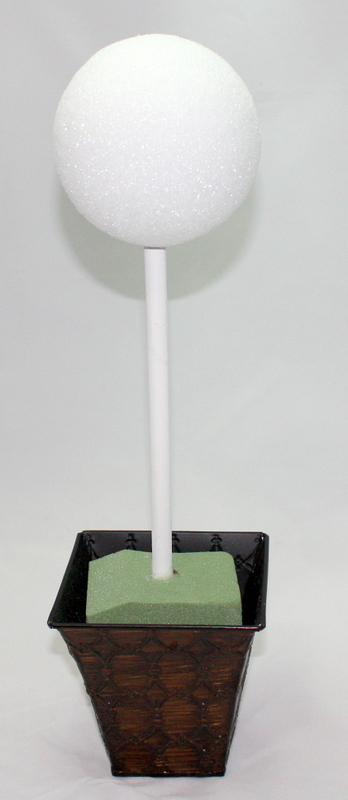
Cut floral foam to fit container. Remove the foam. Place a small amount of hot glue in the bottom of the container, replace the floral foam.
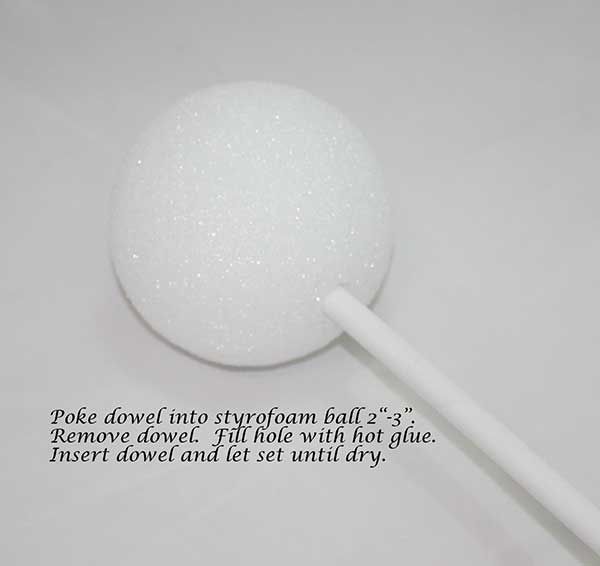
Insert dowel into the center of the floral foam. Push the dowel firmly into the foam to a depth of approximately 3 inches. Remove the dowel. Fill the hole with hot glue, reinsert the dowel.
Step 5
Using the floral pins and the technique found in the May Arts fall wreath tutorial #2,

Form loops and insert ribbons into the Styrofoam ball until the ball is fully covered. The ric rac and sheer dot ribbons are folded in two and attached so that the ends are free. Trim as needed.
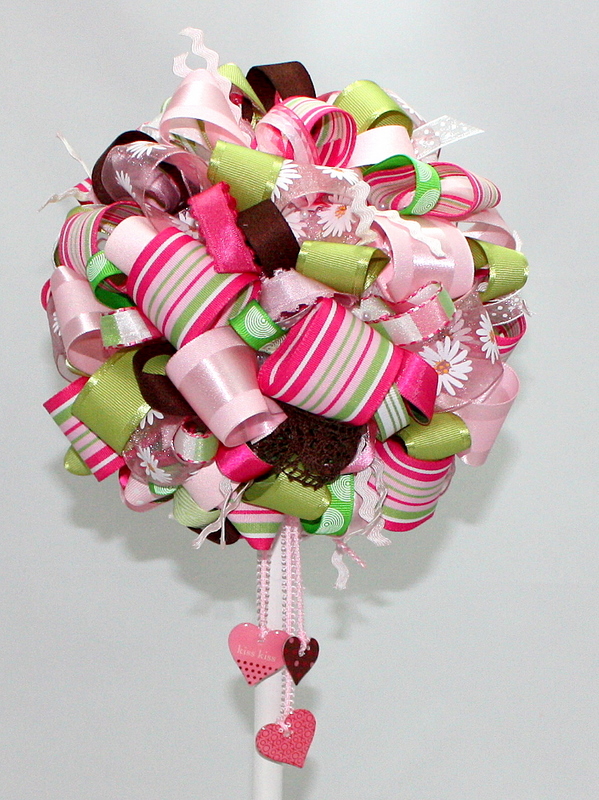
Tie ribbons to the hearts. Use pins to insert the hearts into the base of the ribbon ball.
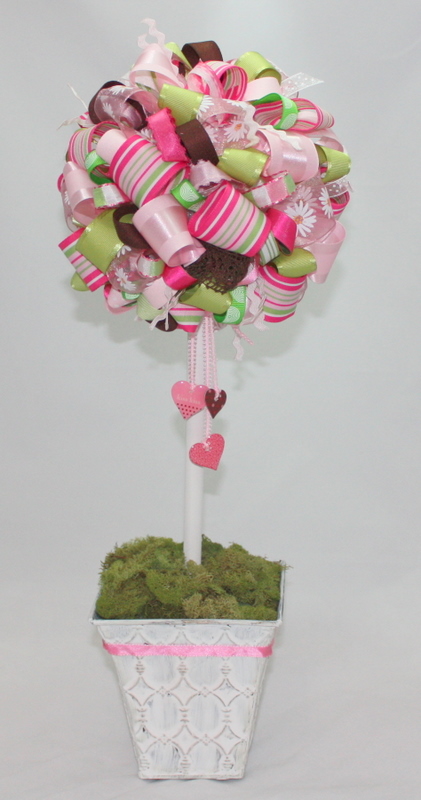
Step 6
Cover the floral foam with moss, securing with hot glue. Add ribbon trim to pot if desired.
That’s it! A beautiful, versatile centerpiece that you can customize to suit your occasion thanks to the amazing variety of styles, colors and widths of ribbon May Arts offers.
Here are a few tips:
- Don’t be afraid to mix patterns, textures and styles. If you don’t like a ribbon, just pull it out and try another!
- Do try to use the same ribbons in three to 5 spots to balance your project.
- Try using larger or smaller balls/containers to create a cluster of topiaries for an even more stunning table centerpiece or to balance a round table.
- If you have a long narrow table, a trio of topiaries of the same size will help to balance your tablescapes.
Thanks for spending time with us today. We hope we’ve inspired you to create with May Arts ribbon!
*May Arts Ribbons used:
XV17, XV10, BK46, 376-1-46, 337-15-17, EN22, EN17, EN09, JD01, MF17, WFF46, AR17, BM17, NP33, RP22, HY17, 382-34-46, ME17, AB17, TG15, HA66, SK01
Charlene Driggs – May Arts Design Team

