Quick DIY: Bow and Die-Cut Tag Tutorial
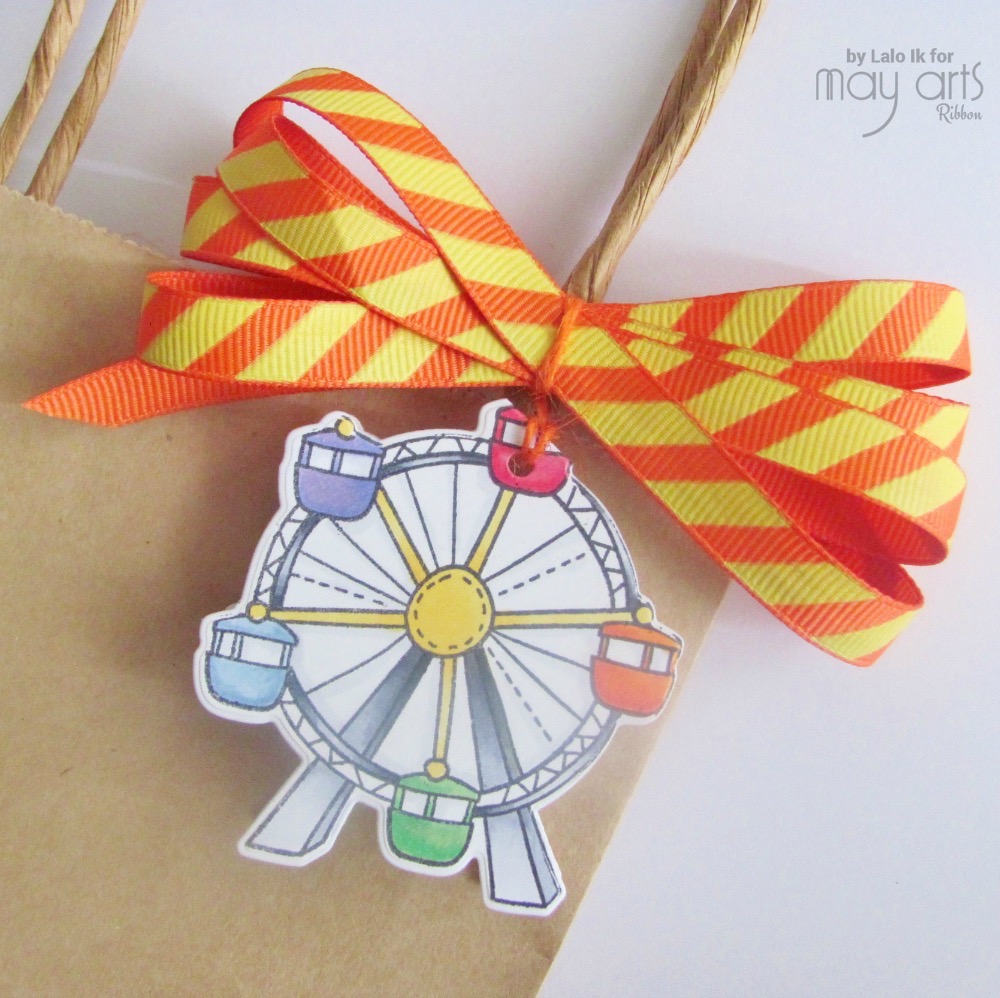
Today’s post is for all those DIYers looking for a cute, quick and easy bow and tag.
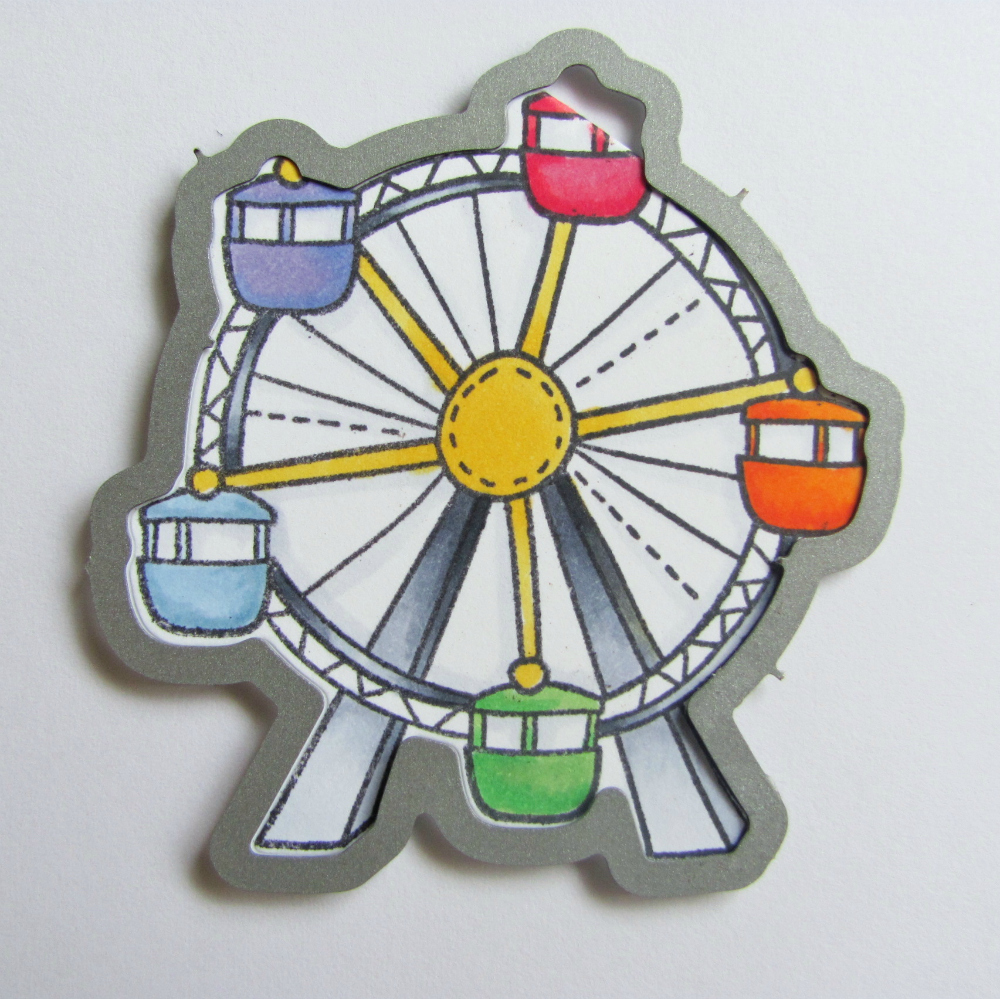
You’ll need to make the tag first for this project. I wanted to make it fun so I made a shape tag. To do this, fold your paper, and die-cut letting part of the die hanging off the crease. You may have to run the die and paper through your machine several times to make sure it cuts both layers of paper. When you’re done, the crease will be the hinge for your tag. Now stamp your image, color and punch a hole near the hinge. Tie your string on now and put on the side. You want to do this before you make your bow.
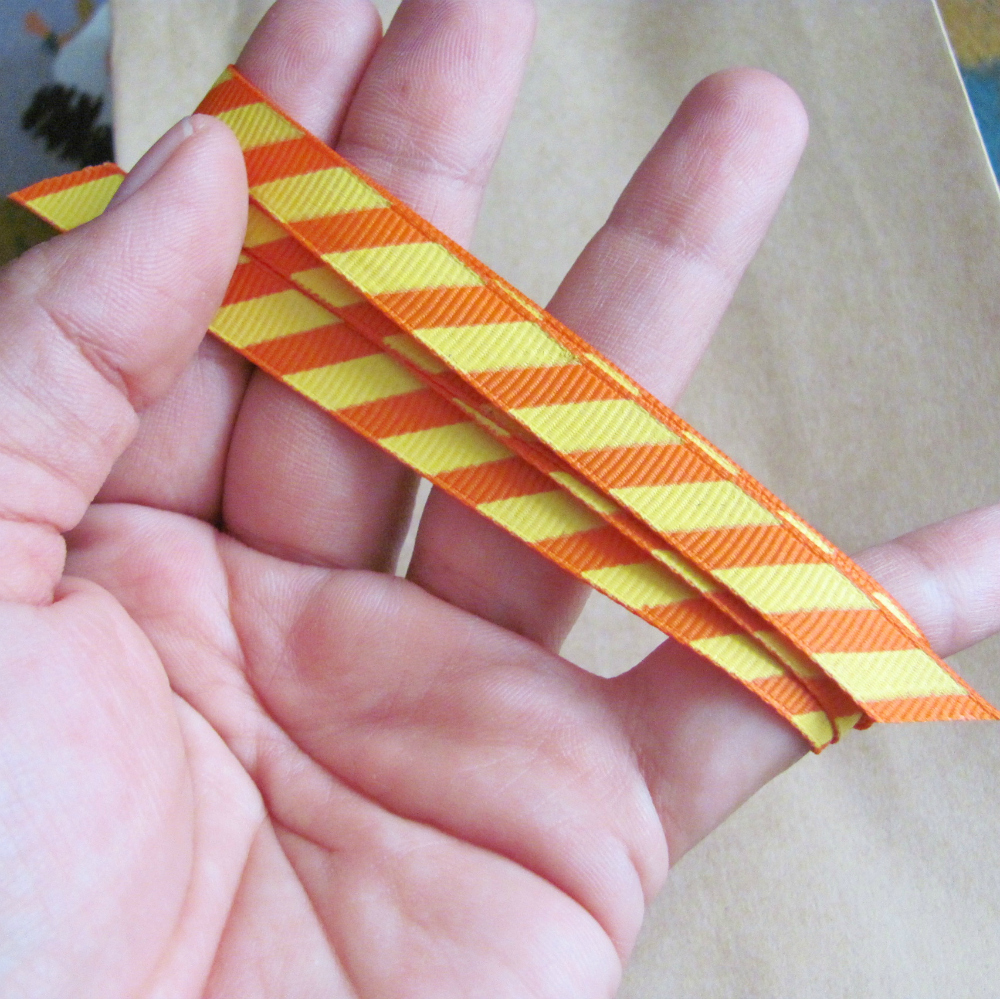
For the bow, simply wrap your chosen ribbon around your fingers. You can wrap it anywhere between one to five times but no more than that. It just doesn’t work with more.
Now slip the ribbon off of your fingers holding the loops together. Take the strings from your tag and knot it around the middle of your ribbon loops.
Use the string ends to add your bow to a gift bag or present and that’s it. It’s really quick and easy and you can make it totally customizable using any type of May Arts ribbon. Also don’t forget to add a message to the inside of the card.
By Lalo IK
Other Supplies Used:
- Lawn Fawn stamps and dies
- Paper
- Copic markers
- Gift bag


