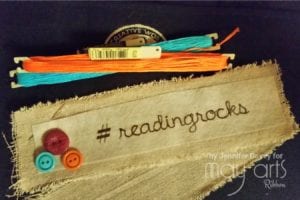
DIY Bookmark – #readingrocks
Fall and back to school make me feel like curling up with a book. What better project for September a lovely bookmark. This project can easily be customized as a teacher gift or to go with a book to a friend in need of a good read.
So off we go…

Cut 2 – 11-inch pieces of 2.5 Inch Cotton Blend ribbon (for better ragged edges I would recommend ripping the ribbon rather than cutting it), print desired words onto printable sticky stabilizer (I used Sulky® Sticky Fabri-Solvy™) center stabilizer on Ribbon.
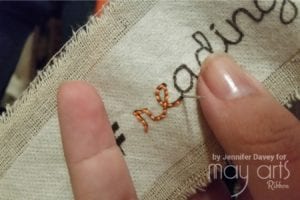
Hands embroider following pattern using a backstitch.

Cut a piece of heavy weight sew in stabilizer: 2 1/4 x 10 1/2-inch. Baste ribbon tails to top center of stabilizer. Make a layer sandwich of ribbon stabilizer and ribbon (embroidery on top).
Stitch around perimeter of layer sandwich about 1/2-inch from edge. I chose to do this on my machine and love the look of slightly crooked overlapping lines but this can easily be hand stitched as well.
Sew buttons into top layer of bookmark with 1mm burlap string. Now dissolve your patterned stabilizer with water and Tadah!
Other Supplies Used:
- Embroidery Floss
- Printable adhesive stabilizer
- Heavy weight sew in stabilizer
- Buttons
- Scissors
- Embroidery Needle
- Sewing Machine

