Make Your Own Boutique Gift Bag
Welcome to the May Arts Blog! We’re so excited to be sharing this week with the Stampendous Design Team.
My project for you today features a Stampendous Clear Set that’s perfect for spring called Nest Egg and a product that I’ve fallen in love with, called Fran-tage Aged Aqua Embossing Enamel.
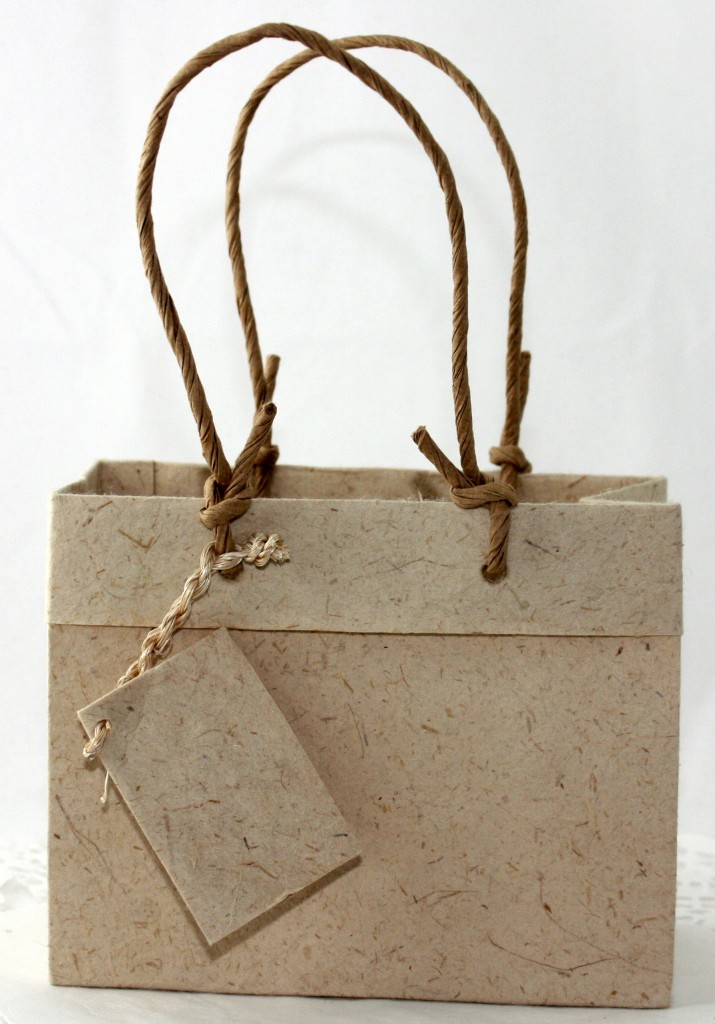
We’re going to turn this nice but very plain Jane paper bag…
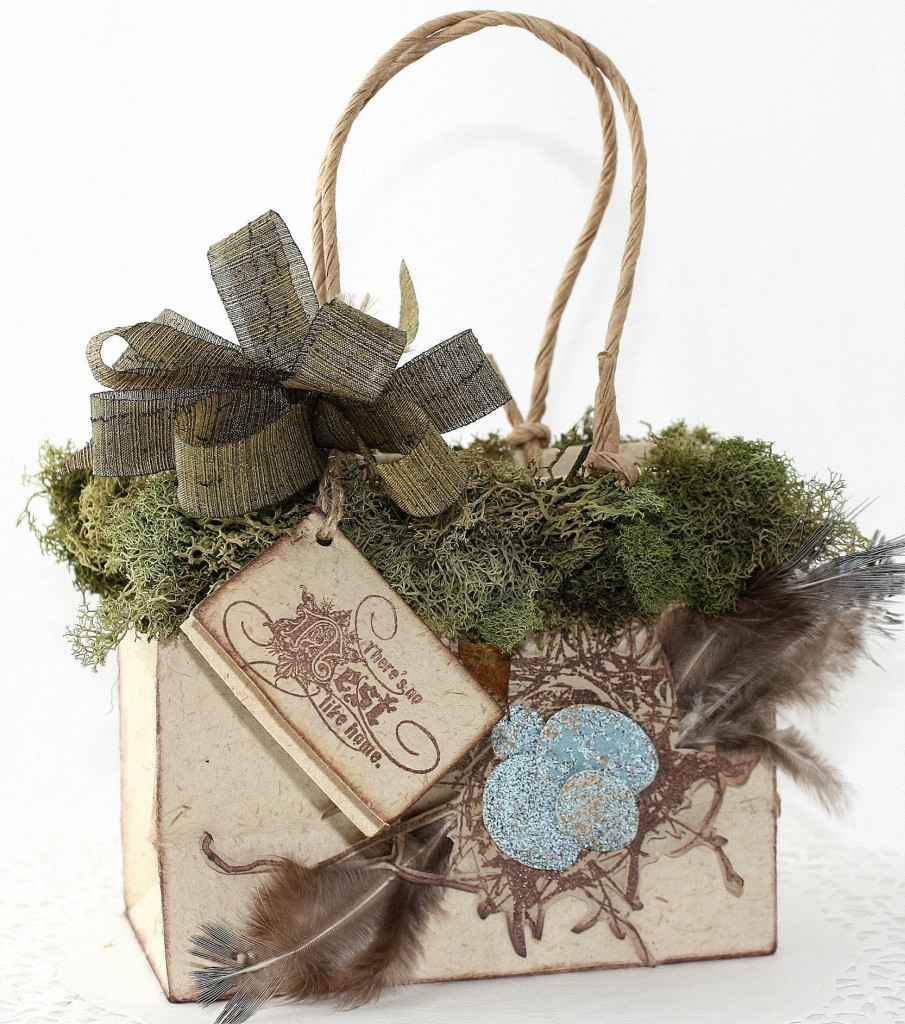
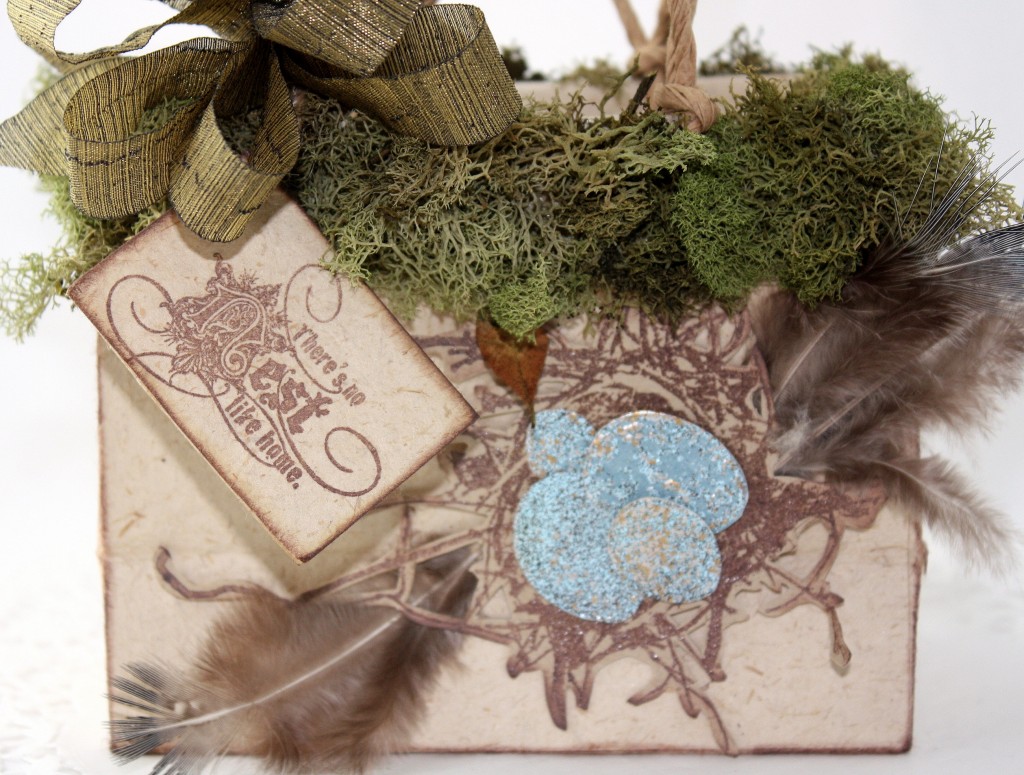
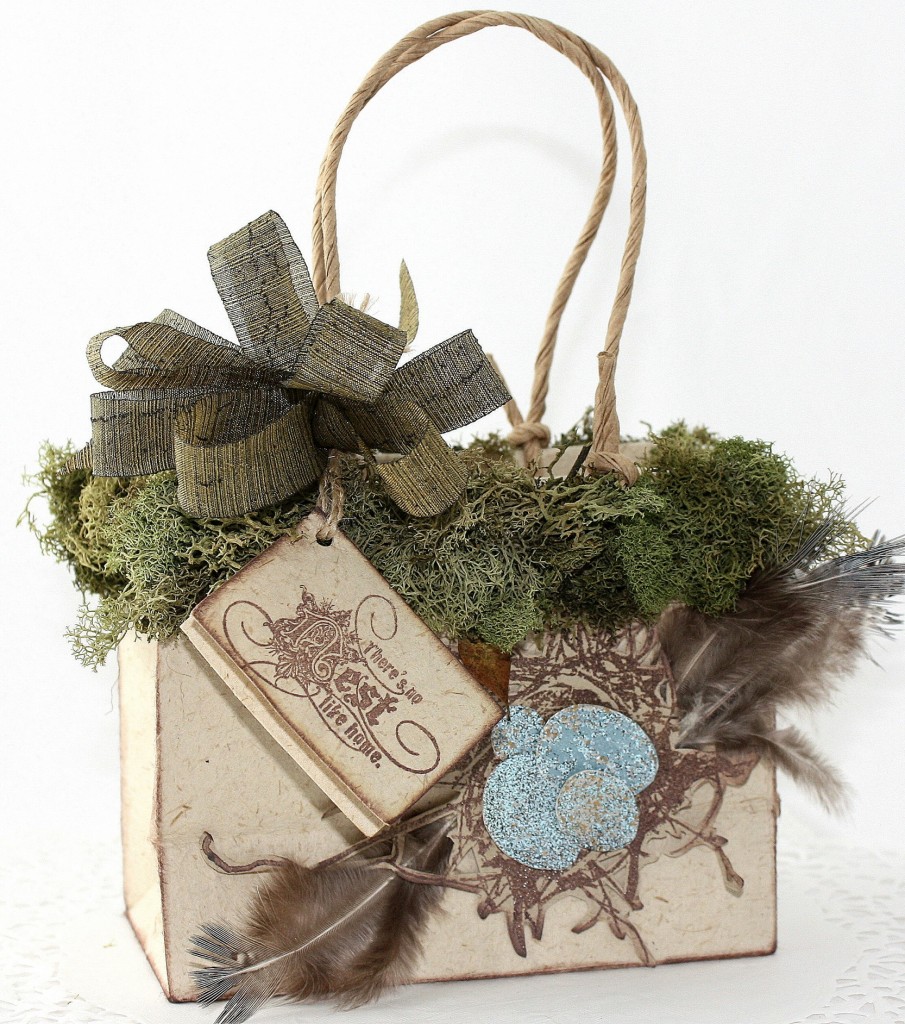
into this boutique worthy piece of art:
Supply List
- Cuffed paper bag
- Stampendous Nest Egg Perfectly Clear Stamp Set
- Stampendous Fran-tage Aged Aqua Embossing Enamel
- May Arts Ribbon – PR08 – 5/8” Textured Lines Taupe
- May Arts Ribbon – SM10 Burlap String Natural
- Helmar 450 Quick Dry Adhesive
- Natural Moss
- Craft feathers
- Foam tape/glue dots
- Kraft cardstock
- Craft knife/scissors/heat gun
- SNS Clear Detail Embossing Powder
- Versamark and Versacolor ink (Jumbo Java, Aegean Blue)
Instructions
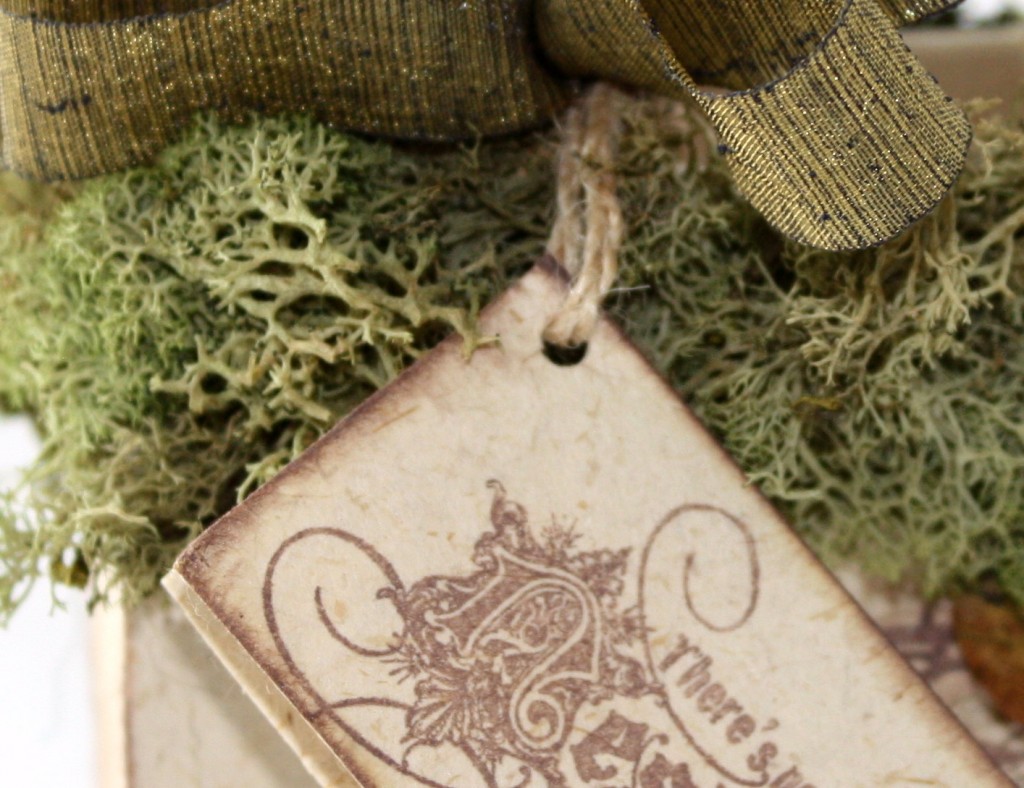
- Cut the tag from the bag discard the twine. Stamp the sentiment onto the tag. Sponge around the tag with ink. Take 3 lengths of May Arts twine, braid together, then tie the tag onto the bag and flip to the inside.
- Apply Helmar 450 Quick Dry to the bag cuff working with a small section at a time; apply moss while the glue is wet.
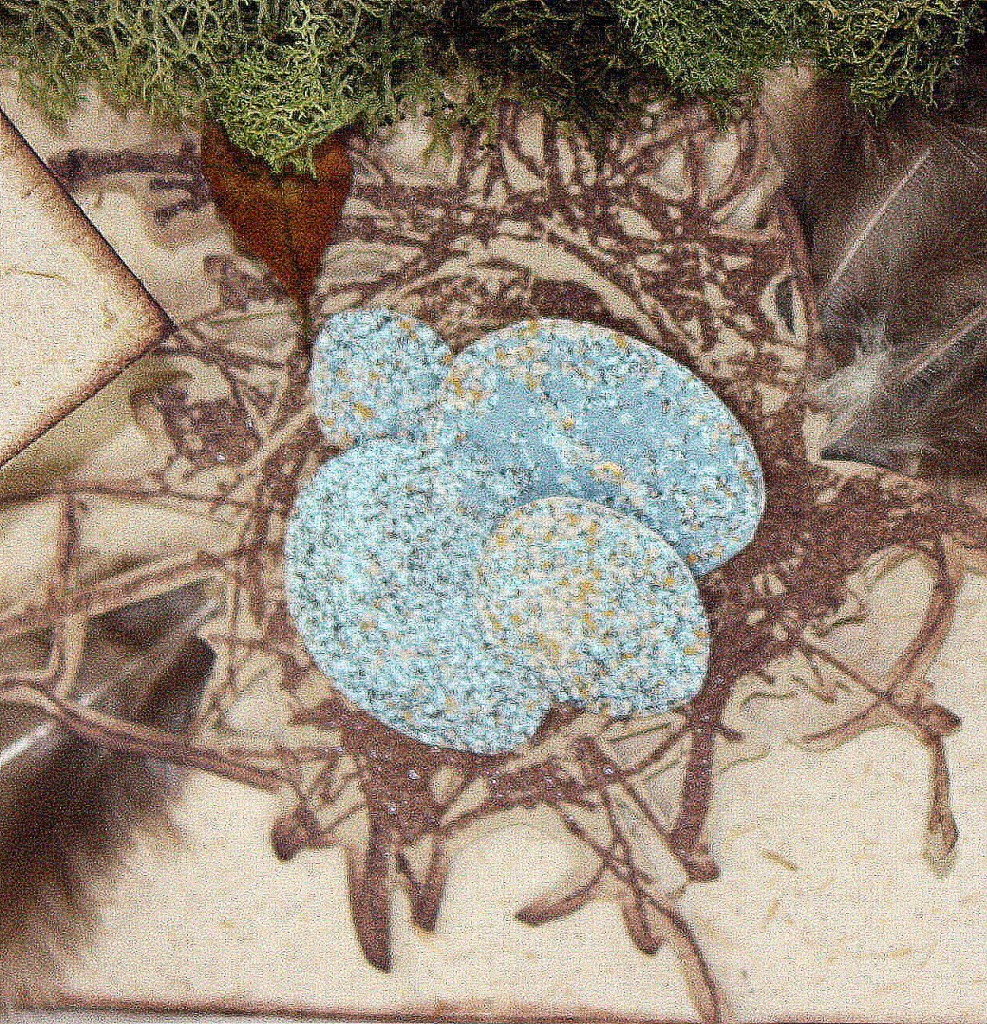
- Stamp the nest image onto Kraft cardstock with Versamark Ink. Heat emboss with clear detail embossing powder. “Fussy cut” the nest. Use a craft knife to cut out some of the small spaces. Attach to the bag with foam tape.
- Stamp several sizes of the solid egg image with Aegean blue ink. Heat to dry with the heat gun. Stamp the eggs again with the detail image eggs using Versamark Ink. Sprinkle liberally with Stampendous Aged Aqua Embossing Enamel. Heat from the underside of the image until the enamel melts.
I just love the texture and shine and each one looks so different! Now just tuck a few feathers around the nest with glue dots to secure to complete the look and sponge the edges of the bag with ink.
- Flip the tag back to the outside of the bag, tie a 4 loop bow with May Arts Textured Lines ribbon. Tie the bow onto bag handle.
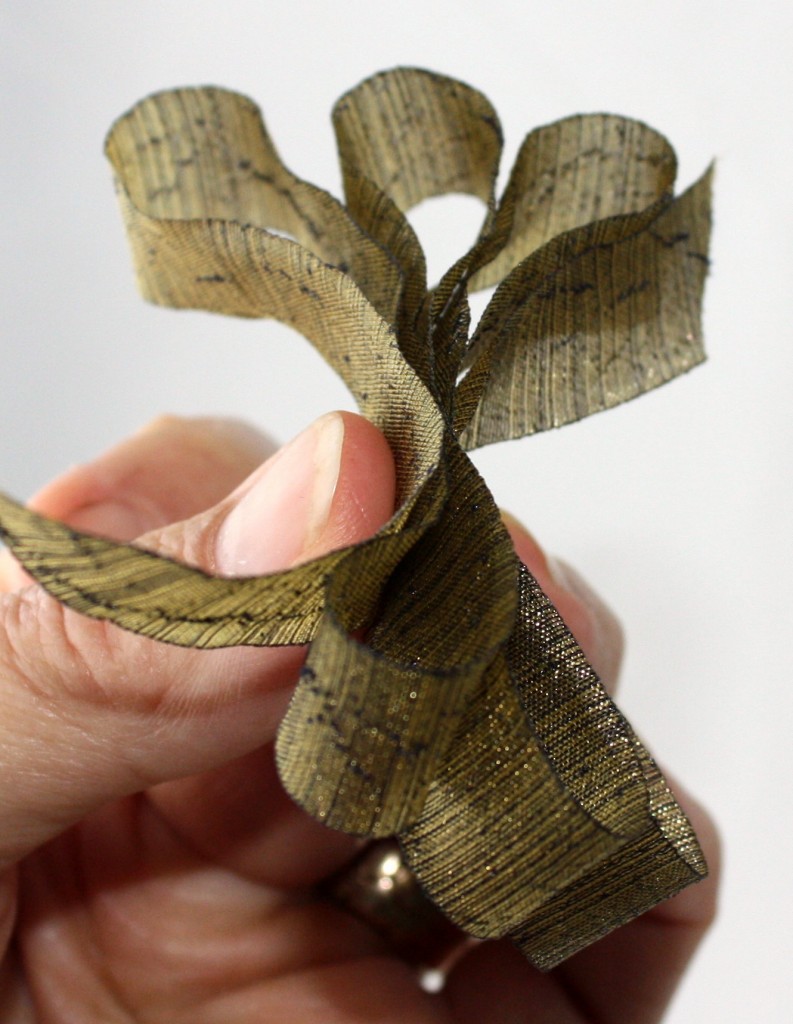
Every time I make this bow, I always get questions on how to do it, so I thought I’d give you a quick tutorial. I used a 4 loop bow for this project but you can use any number of loops depending on the size bow you want to make.
Decide how full and how big you want your ribbon to be. Fold your ribbon back and forth until you reach the desired size.
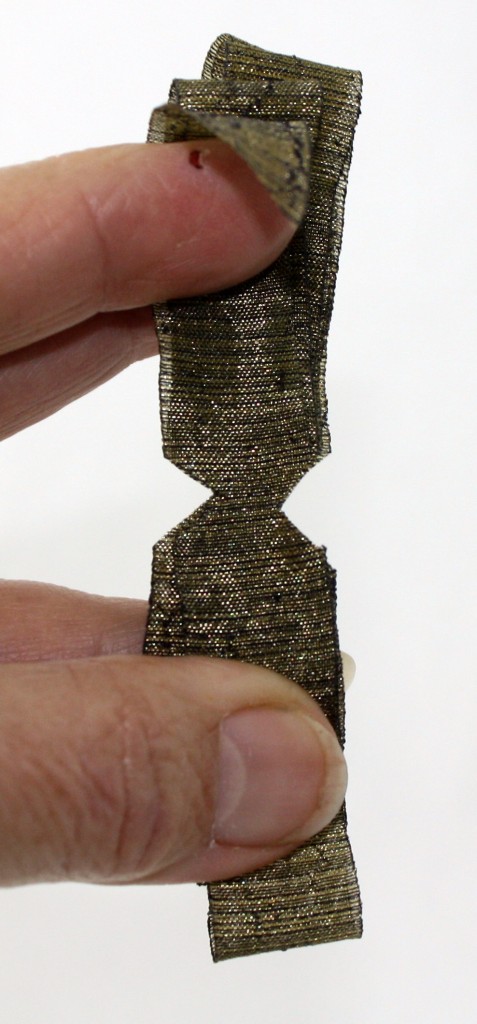
Making sure the ribbons are even, cut notches on both sides of the ribbon at the center point making sure not to cut all way through.
Now just tie a separate piece of ribbon around the center. Be sure to leave the tails long enough to tie onto your project. Fluff the loops and you’re done!
Thanks so much for joining us on the May Arts/Stampendous Blog Hop. Be sure to check back to what the other designers have created to inspire you.
You can find a printable tutorial here.
Blog post by: Charlene Driggs


