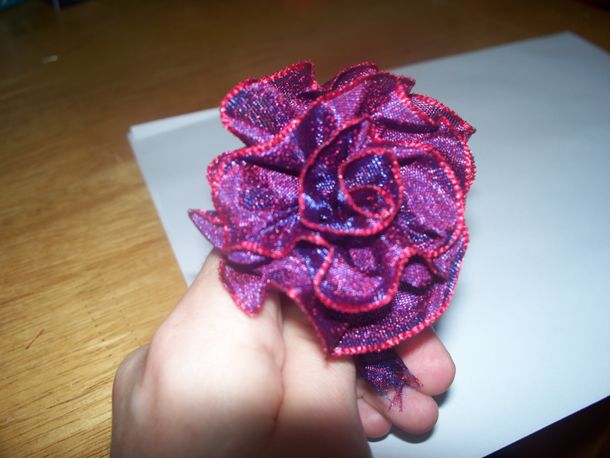
DIY Ribbon Roses With Wired Ribbon
Here is Entry #3 from our Calling All Bloggers Challenge! This post was submitted by Jennie Posthumus. Please take the time to read this & let us know what you think!
Ribbon Roses
Materials:
- Wire Ribbon
**You can use any width between 1” and 3” ribbon. 2.5” works best**
- Scissors
- Wire Cutters
- Floral Wire
- Floral Tape (green)
- Needle-nosed Pliers
Instructions:
- Step 1: Measure out about one yard or ribbon. Cut with scissors. You may want to use the wire cutters to cut the wire before cutting the ribbon.
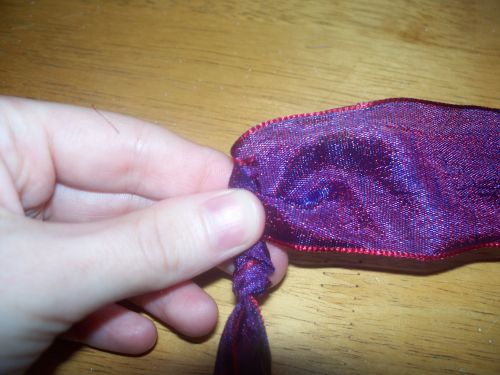
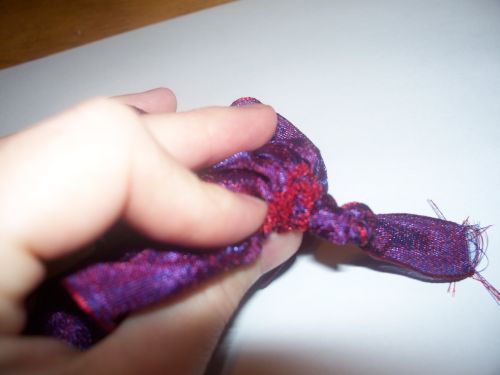
- Step 2: Twist one end of the ribbon and tie a knot about an inch from the end. This is to secure the end and give you a place to both hold the ribbon and to create the center of your rose.
The knot.
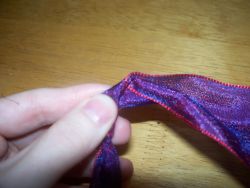
- Step 3: With the brighter side facing away from you, fold down one corner of the ribbon to form a triangle. Roll it inward a few times to form the “center” of the rose.
Fold the ribbon down to form an angle.
Roll the ribbon inwards a few times.
- Step 4: Hold the end you just folded/rolled. With your free hand, find the bottom wire at the other end of the ribbon. Grasp it tightly while pushing the ribbon towards the Center. The ribbon will curl into a spiral shape. The tighter the spiral, the more open your rose will look. The looser, the more closed it will be. Be VERY careful while pushing the ribbon towards your center. The thinner wires can, and will, break. DO NOT CUT OFF THE EXTRA WIRE!!! If you need to, wrap the end of the wire around the pliers and use that to help push the ribbon towards the other side.**
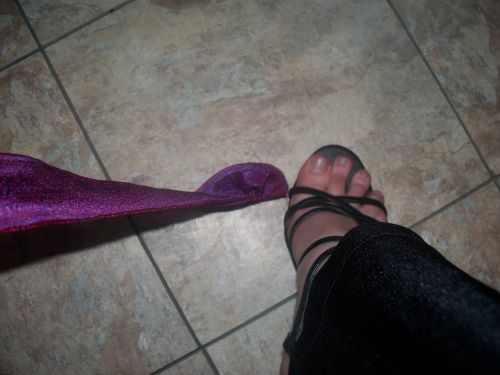
(**I suggest doing this on a hard floor (tile, linoleum, or tile) and holding the wire with your foot while pulling the ribbon up, liked I did in the photo. It’s faster, easier, and less painful.)
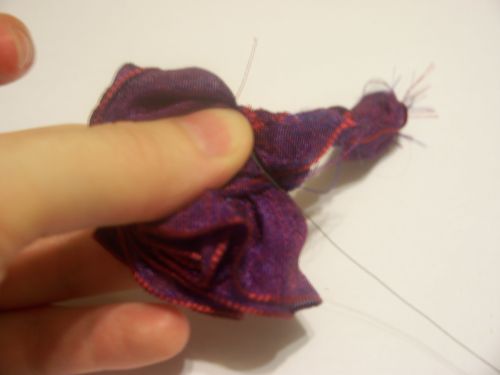
Pull wire out, scrunching up the ribbon in the process.
Hold the end securely on a hard surface for best results.
Scrunch ribbon up wire towards the folded end.
The finished product should look similar to this.
- Step 5: Once you have the ribbon scrunched up, begin wrapping the ribbon carefully around the center. (Remember: the tighter the spiral, the more open your rose will be. For a closed rose, keep it loose. Some ribbons are more difficult to scrunch up and will produce the closed roses, unless you go to a lot of difficulty to scrunch it up tighter.) Keep the bottom of the scrunched ribbon as even as possible with the bottom of your center. Otherwise, it won’t keep the shape of your rose. Pull the ribbon as tight as possible without un-scrunching the ribbon. (Turning it upside down as you do this is helpful, since you can find the bottom far easier that way.)
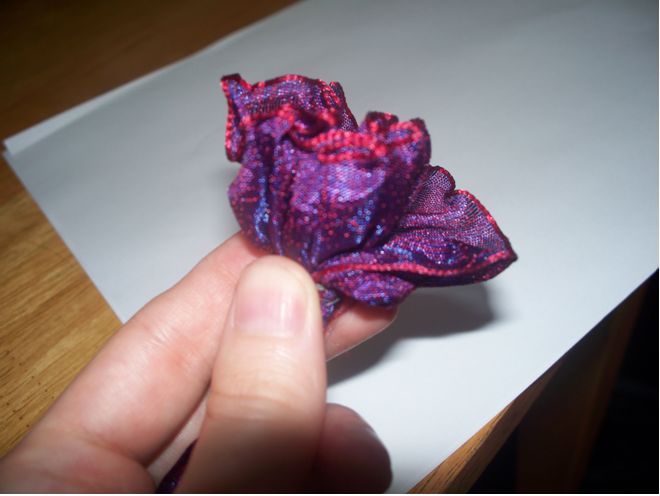
You may end up squeezing all the wrapped ribbon together as you create your rose. This isn’t a problem, since it will give your rose the natural look of a flower. If your rose looks unnatural and too perfect, scrunch the ribbon together and when you unfurl it further down, it will look more natural.
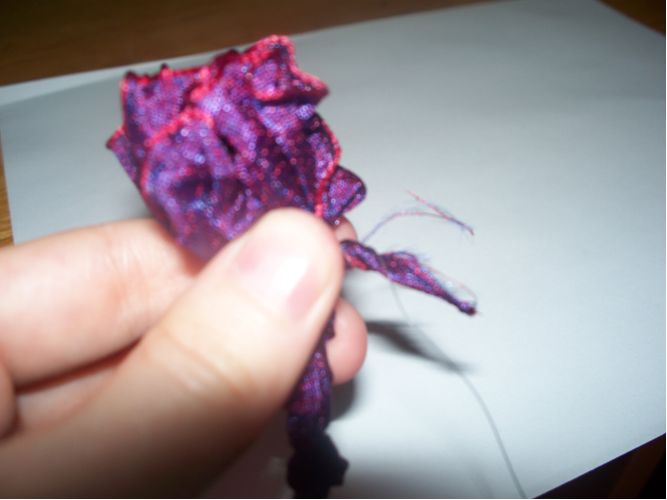
Wrap the ribbon around the folded edge. Try to keep the edges even.
Wrap the ribbon snugly.
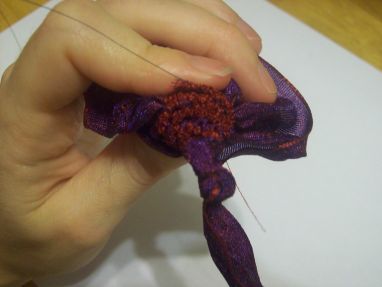
- Step 6: When you reach the end, wrap the extra wire around the bottom, beneath the edge, to hold it in place. Pull it as tightly as possible without breaking the wire. Otherwise, you’ll either have to use needle and thread to sew it together to keep it in place, use extra floral wire, or take it apart and use hot glue to tack it in place as you rewrap it. (I, personally, prefer the floral wire if the wire breaks.) After you wrap the wire around a few times, fold the edge down in a way that looks like a petal, and wrap the wire around that, also. Once you wrap it five or more times (enough that it’ll stay in place), twist the wire and the edge together to hold secure it all tightly in place.
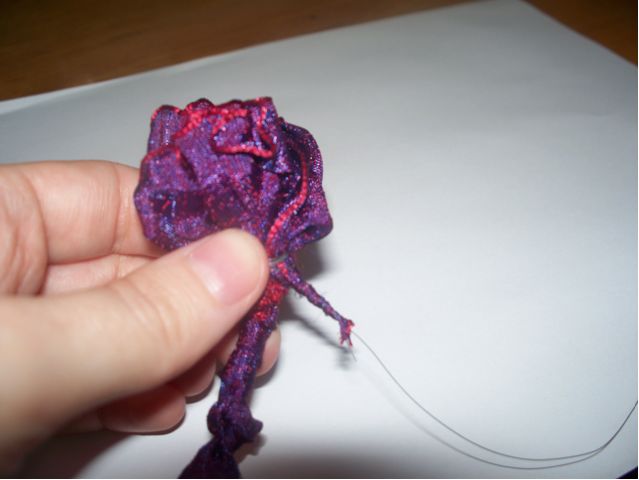
Wrap the excess wire around the bottom edge of the ribbon tightly. Be careful to not break it (the finer the wire, the quicker it will snap)
Fold the end of the ribbon down in a way that keeps the appearance of a rose. Use your own judgment. Wrap the wire around this several times to secure it in place.
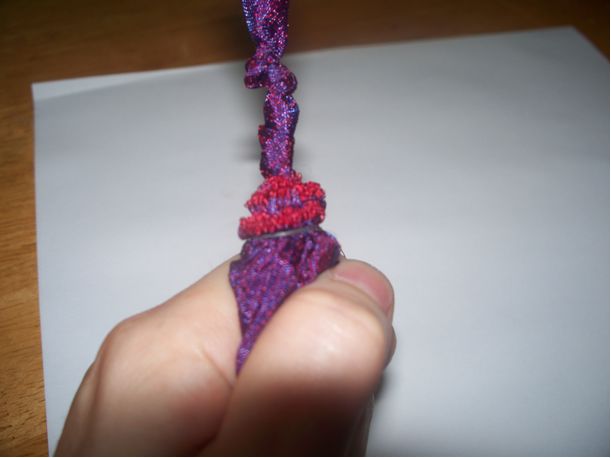
Twist the excess wire and the end of the ribbon together to secure the wire in place.
This is what it should look like twisted together.
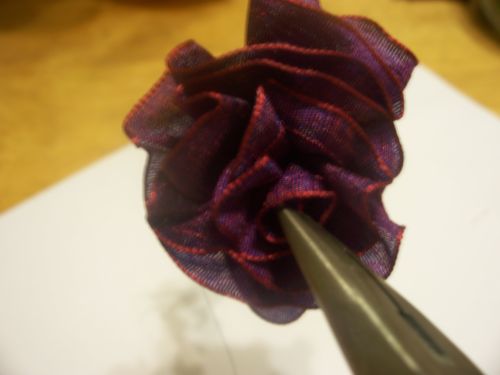
- Step 7: Unfurl the rose by gently pulling back on the ribbon. You can even “sculpt” the petals somewhat due to the wire, but be very careful and do this gently. To form a more complete center, take the needle nose pliers and find the center that you first made and lightly grasp it and turn with the circle. Half a turn should be enough to form a good center.
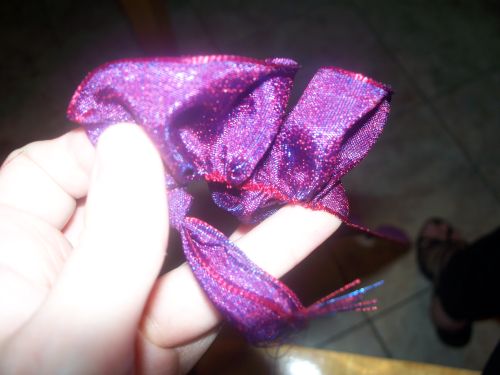
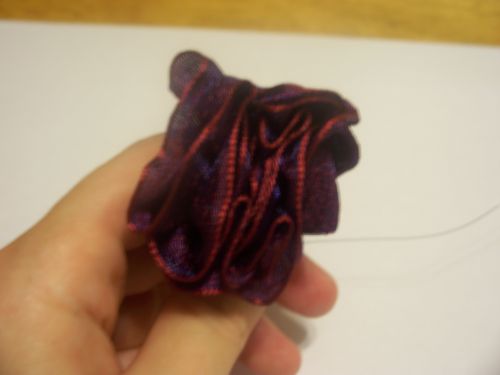
This is what the top looks like if you squished the ribbon together while rolling it up and wrapping the wire around the bottom.
Slowly, gently, pull the ribbon down and out to form the petals.
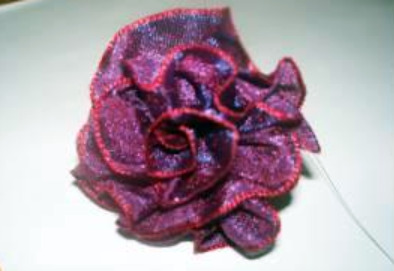
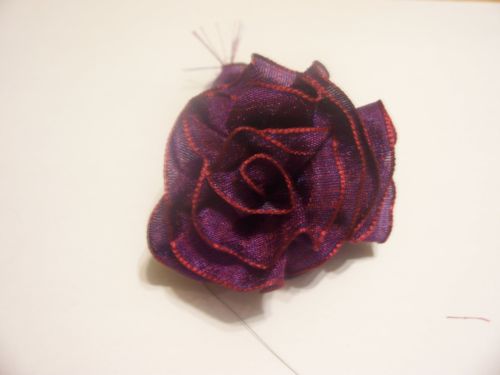
This is what the rose should look like.
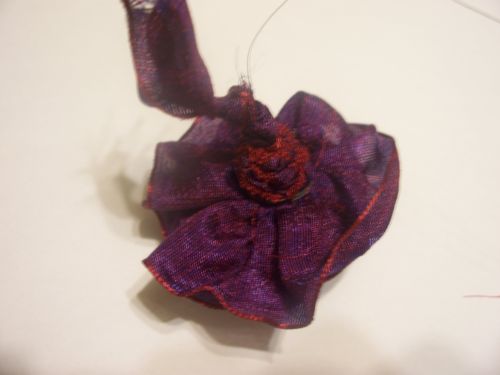
This is what the bottom should look like.
To make a more formed center, take the pliers, find the center “fold” and twist slightly. Half a turn should do it.
And violá! You now have a rose!


