Make Your Own Feathered Ribbon Wreath
It seems like the end of the year is “wreath time” and I love seeing all the different looks and feel of each one.
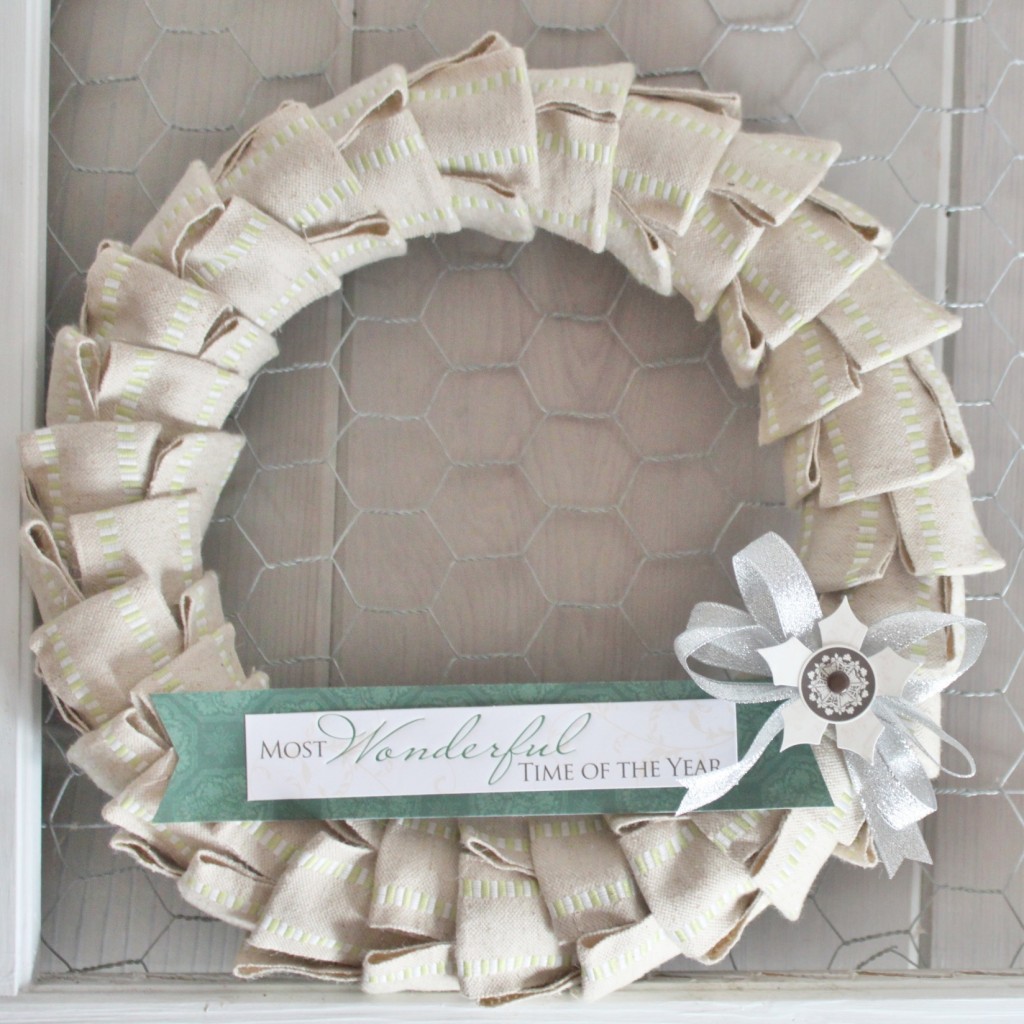
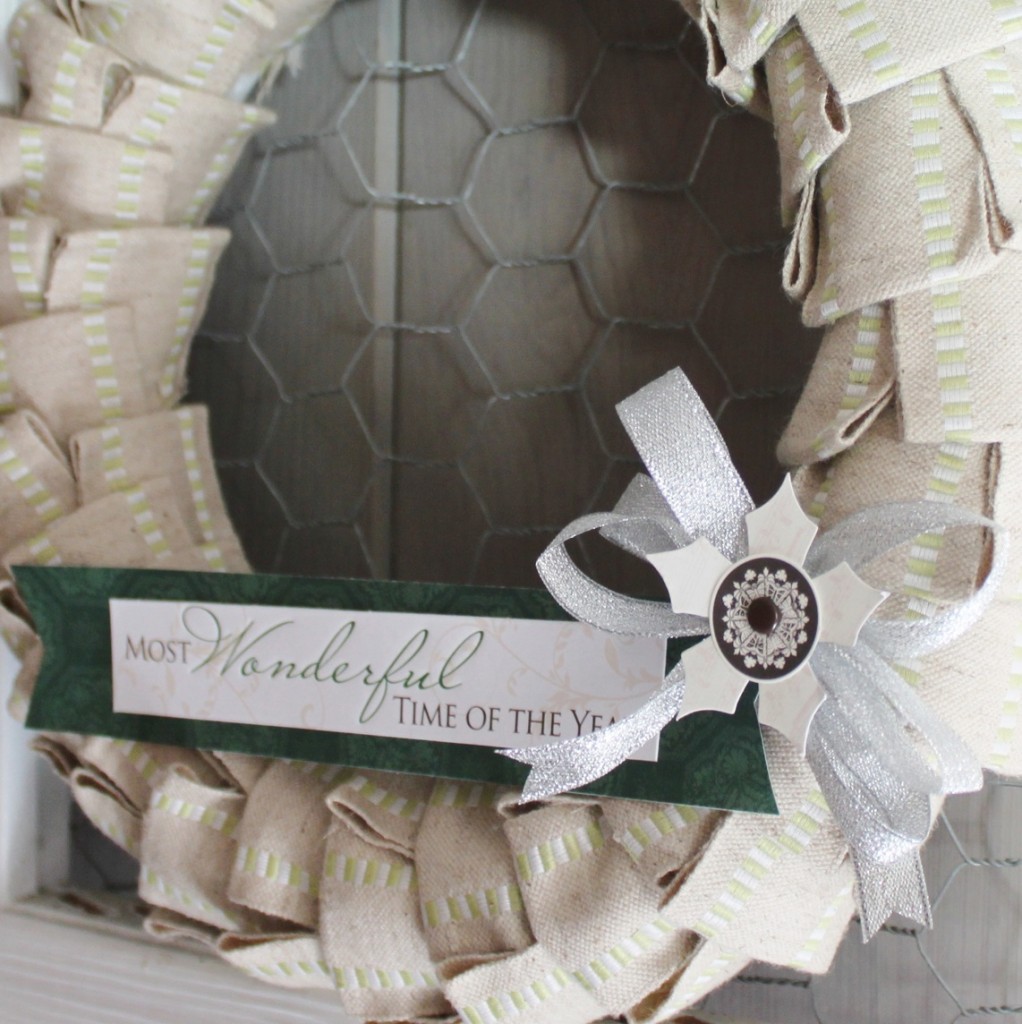
Today I’m showing you how to create a wreath that has a feathered look to it. Check it out:
It’s fast, easy and looks amazing!
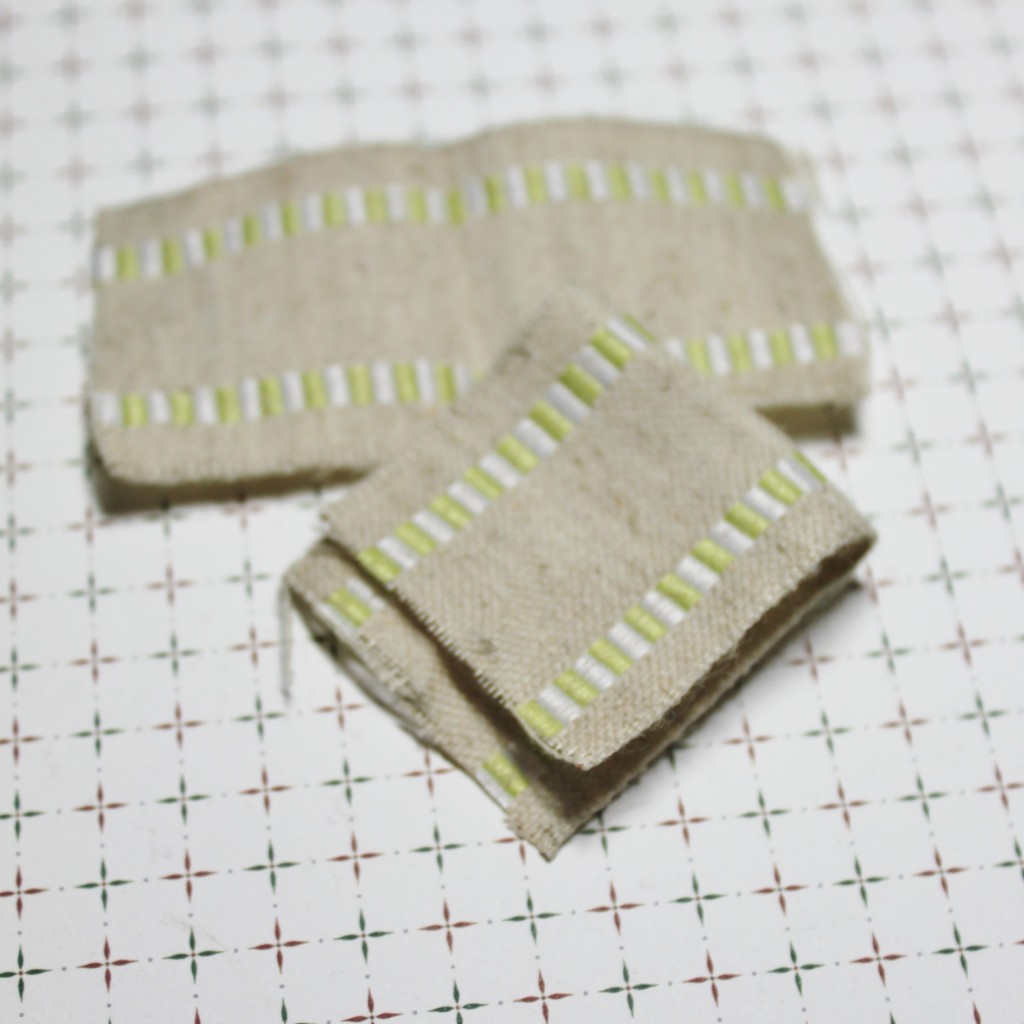
The first step is to cut your ribbon into 3″ pieces.
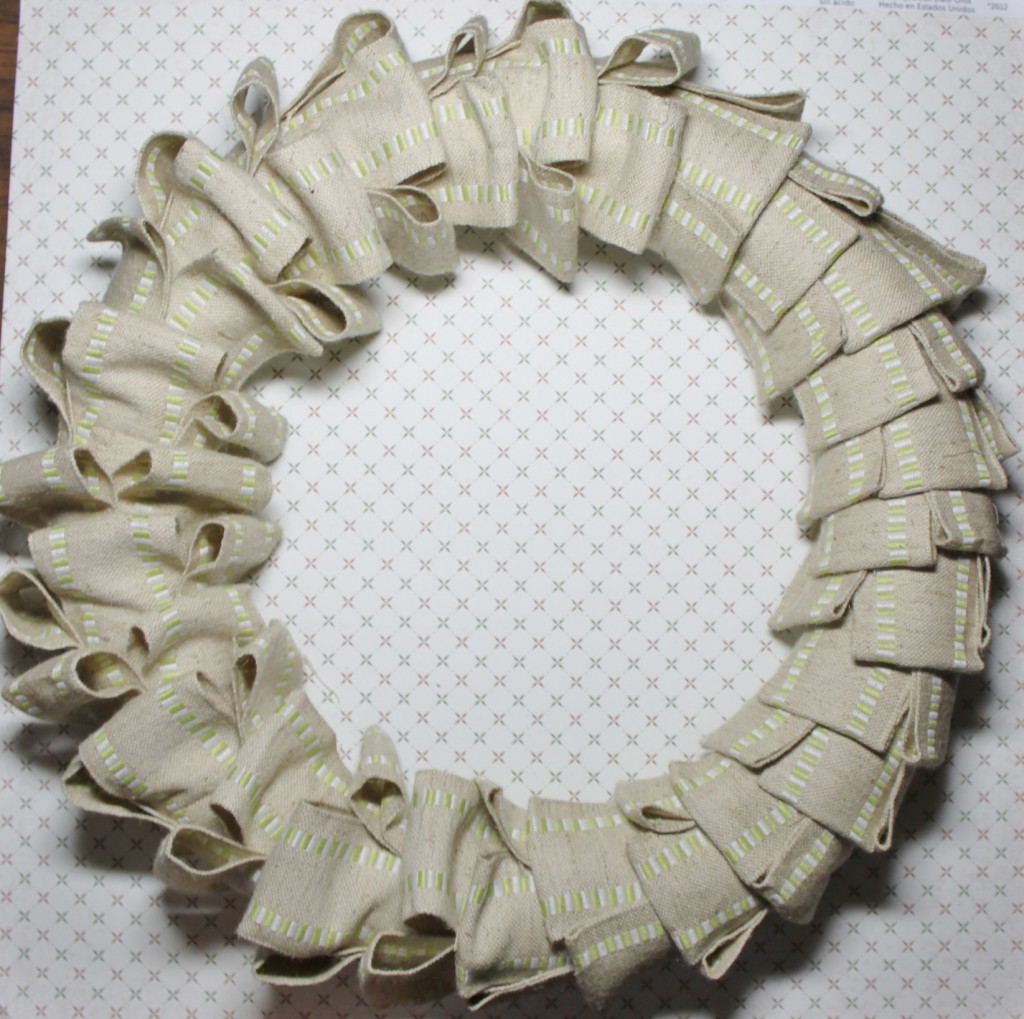
You’re then going to fold your little pieces in half BUT not completely. You want a little edge (estimate about 2 centimeter from the bottom…see picture below). It helps to have a wired ribbon like the one I’m using here.
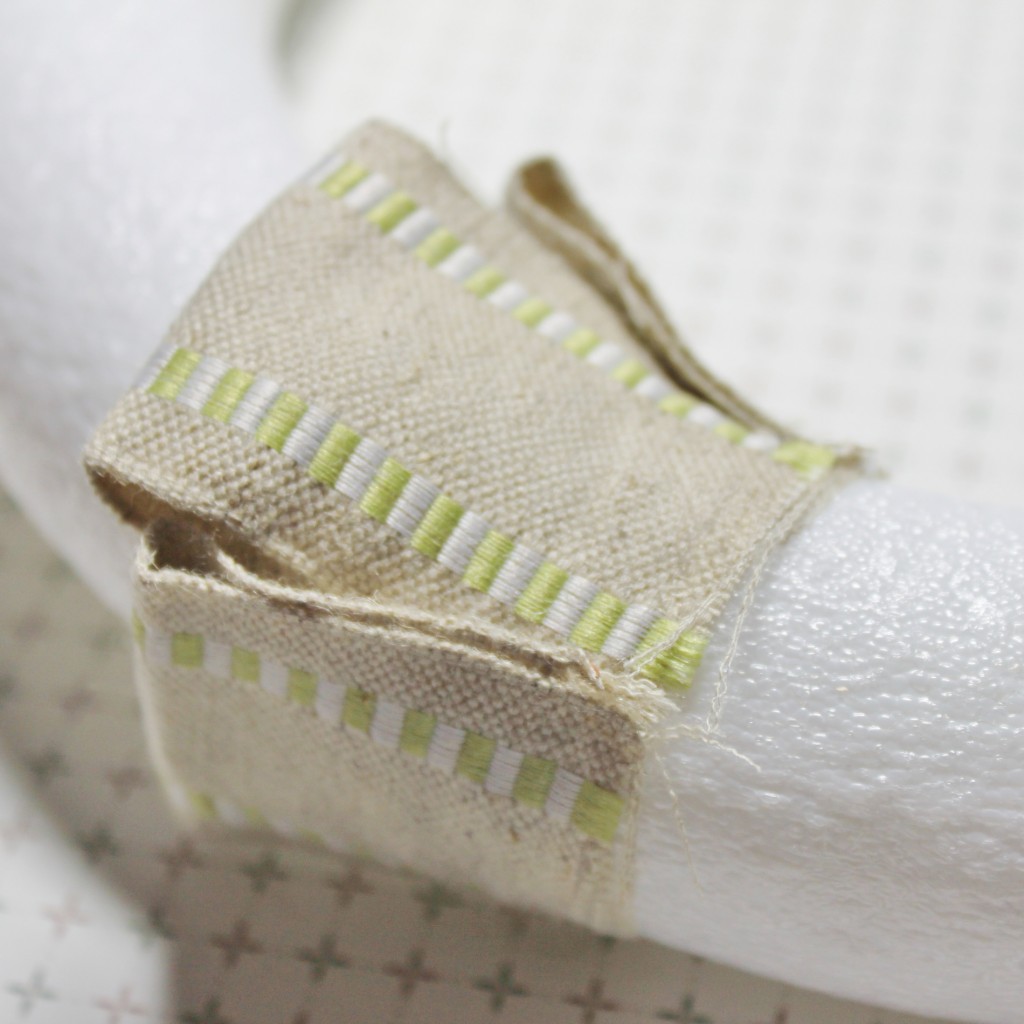
Now you start gluing.
Add a little strip of hot glue just to the edge of the ribbon piece. You’re going to want to glue one at a time and overlapping each piece as you go.
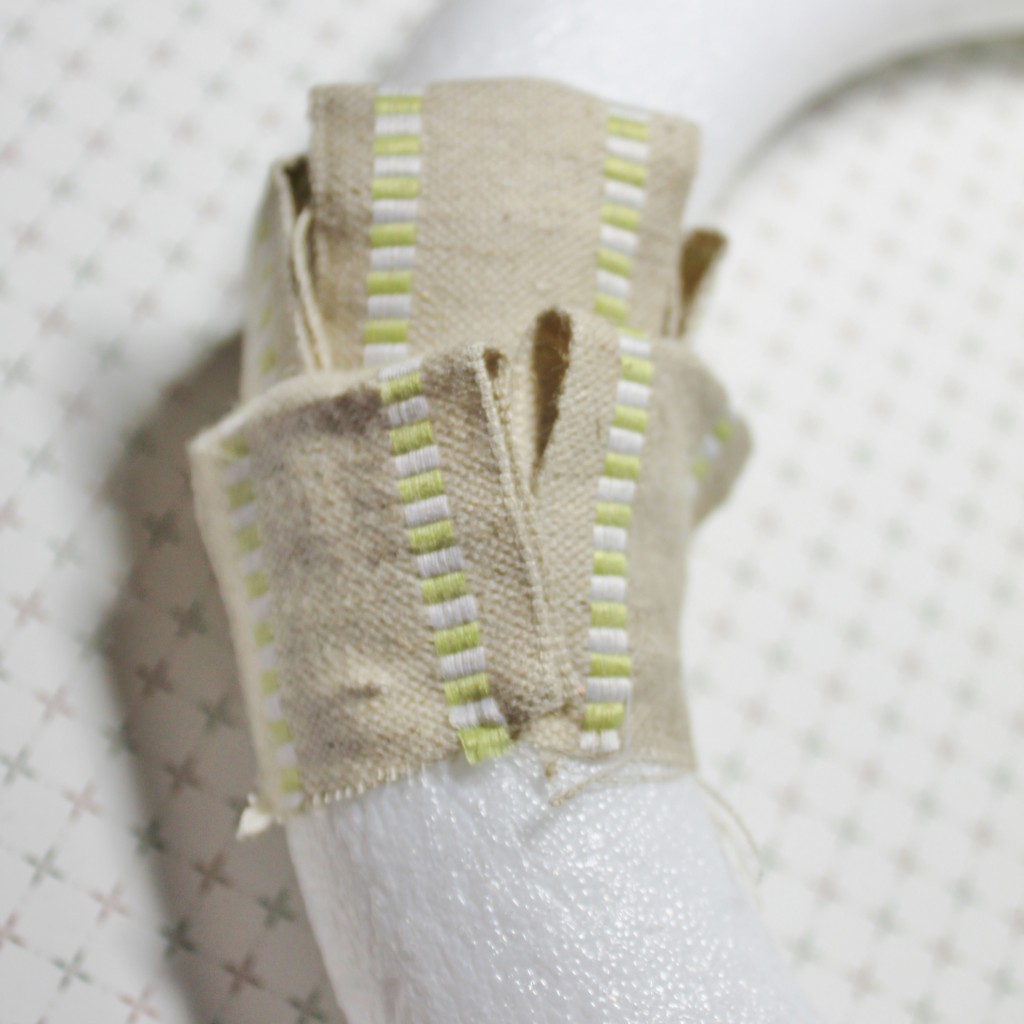
Work in rows of three then two, overlapping onto each other and onto the above row.
Work your way around the wreath. To add the last row just pull up the first row you glued down to tuck in the last pieces.
Once done your wreath could have two looks. See in the below picture the right side lays flat and the left has more of a fluffy look. To achieve a fuller look just insert your finger into each loop (again a wired ribbon works best)
Add details if you wish, hang up and enjoy.
Blog post by: Lalo IK
May Arts Ribbon Used:
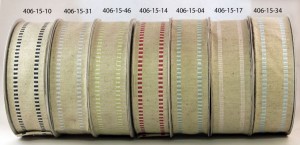
- Natural Burlap with Stripe Edge 406-15-46
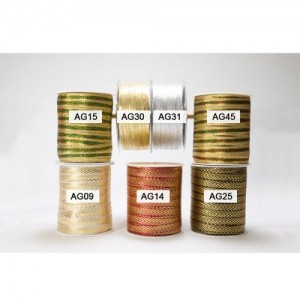
- Silver Metallic AG31
Partners in Craft Supplies Used:
- Little Yellow Bicycle paper products
Other Supplies Used:
- Foam wreath
- Hot glue gun and hot glue sticks


